Administrators use the Layouts page to configure columns to match those in the file that will be used to import supporting items and adjustments. The layout determines the columns that will be displayed on the supporting items and adjustments views on the Account Reconciliation page.
Layouts exist independently of periods, as you can create a layout once, and apply it to across different periods. For example, a layout created in one period (e.g., December) will automatically be available in subsequent periods (e.g., January 2025) without the need to recreate it.
The Default layout includes date, code, description, and amount. However, administrators have the ability to customize the layout for each account to align with how users enter data for their account reconciliations.
Access the Layouts page
-
Click
 . The Period Setup page opens, showing existing periods.
 -
Select an open period to which for which you want to add a custom layout.
-
Click the Layouts tab.
Add a new layout
The application has a Default layout that is used by all entities unless they are assigned to other custom layouts.
To create a custom layout:
-
On the Layouts page, click
 .
. -
In the Name field, enter a unique name for the layout.
Note: The default Type is Standard.
-
In the table below create the columns for the attributes you want to add. Examples of attributes are:
-
Column Name: The name of the field or attribute. For example, Date, Code, Description, Amount.
-
Data Type: The data type of each column. For example, Date, Text, Number.
-
Required: Select this option only if the field is required in the form.
-
Column size: The size of each column, with 200 pixels being the default size. If the total number of pixels is less than the screen width, the columns will expand to fill the entire screen width.
Note: You can create layouts with various columns or even opt for a single-column layout, such as one solely for descriptions.
Tip: If you need to handle multiple currencies for Reconciliation Supporting Items, for example, USD and EUR, you can customize the form layout with an extra Amount column for manual input of amounts in different currencies.
-
-
Optionally, use the
 and
and  buttons to move the column positions down or up.
 Note: The Amount attribute is mandatory and cannot be deleted. It is always the last column in a layout.
-
If you need to delete one of the columns, column click
 .
. -
After you have defined all the columns required, click
 .
. Note: After creating a layout, you need to assign it to an account for it to be available for users. Refer to Assign an account to a layout.
Assign a layout to an account
After creating a layout, the next step is to apply it to an account, to make it accessible for users. Otherwise, only the Default layout will be available to users. Any account that is not assigned to a specific layout uses the Default layout.
To assign a layout to an account:
-
Navigate to the Accounts page. See Set up and manage accounts.
-
In the Layout field within the Properties panel of the Accounts page, choose a layout for the account.
-
Click
. Caution: Modifying the field order of a layout in use may cause related supported items to malfunction. Do not modify the field order in the layout after it has been saved.
Note: After a standard layout has been assigned, administrators can add new optional fields to support additional data requirements. These updates are allowed only in open periods and do not impact existing reconciliations. Existing fields cannot be edited or removed once workflows are in progress. Newly added fields are automatically available in applicable periods and are supported in imports, exports, DI Studio, close packages, and roll-forward. Transaction Matching is not affected.
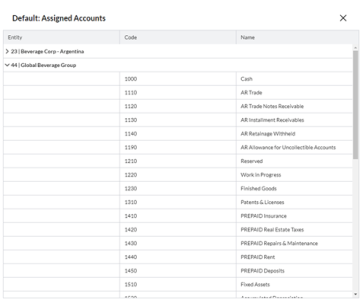
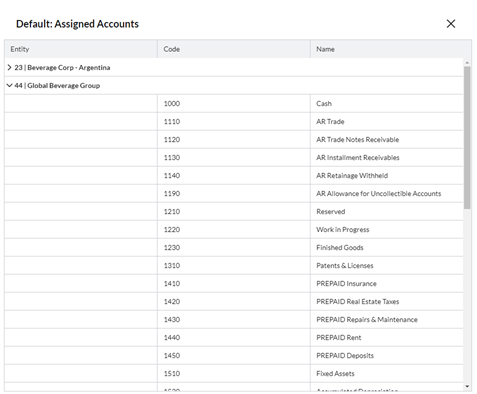
View the accounts assigned to a layout
You can view the accounts that were assigned to use a layout. Layouts are assigned to accounts on the Accounts page. See Set up and manage accounts.
To view the accounts assigned to a layout:
-
On the Layout page, select a layout.
-
In the Properties panel, click
 in the Accounts field. A page showing the layout name and its assigned accounts is displayed.
 Note: If a layout is assigned to accounts in multiple entities, click on the entity name to expand and view the accounts.
Duplicate or copy a layout
-
On the Layouts page, click on the layout you wish to copy or duplicate. The details of the selected layout are displayed.
-
Click
 . A duplicate layout is created with the suffix - Copy added to the name (for example, Prepaid Accounts Layout - Copy).
 -
In the Name field, enter a unique name for the layout.
-
Click
.