General Ledger account information can be added in the application by importing chart of account data or adding accounts manually.
Access the Accounts page
-
On the navigation menu, click
 . The Period Setup page is displayed, showing the existing periods.
 Note: To add a period, refer to Set up and manage close periods.
-
Select an open period to which you would like to add the account.
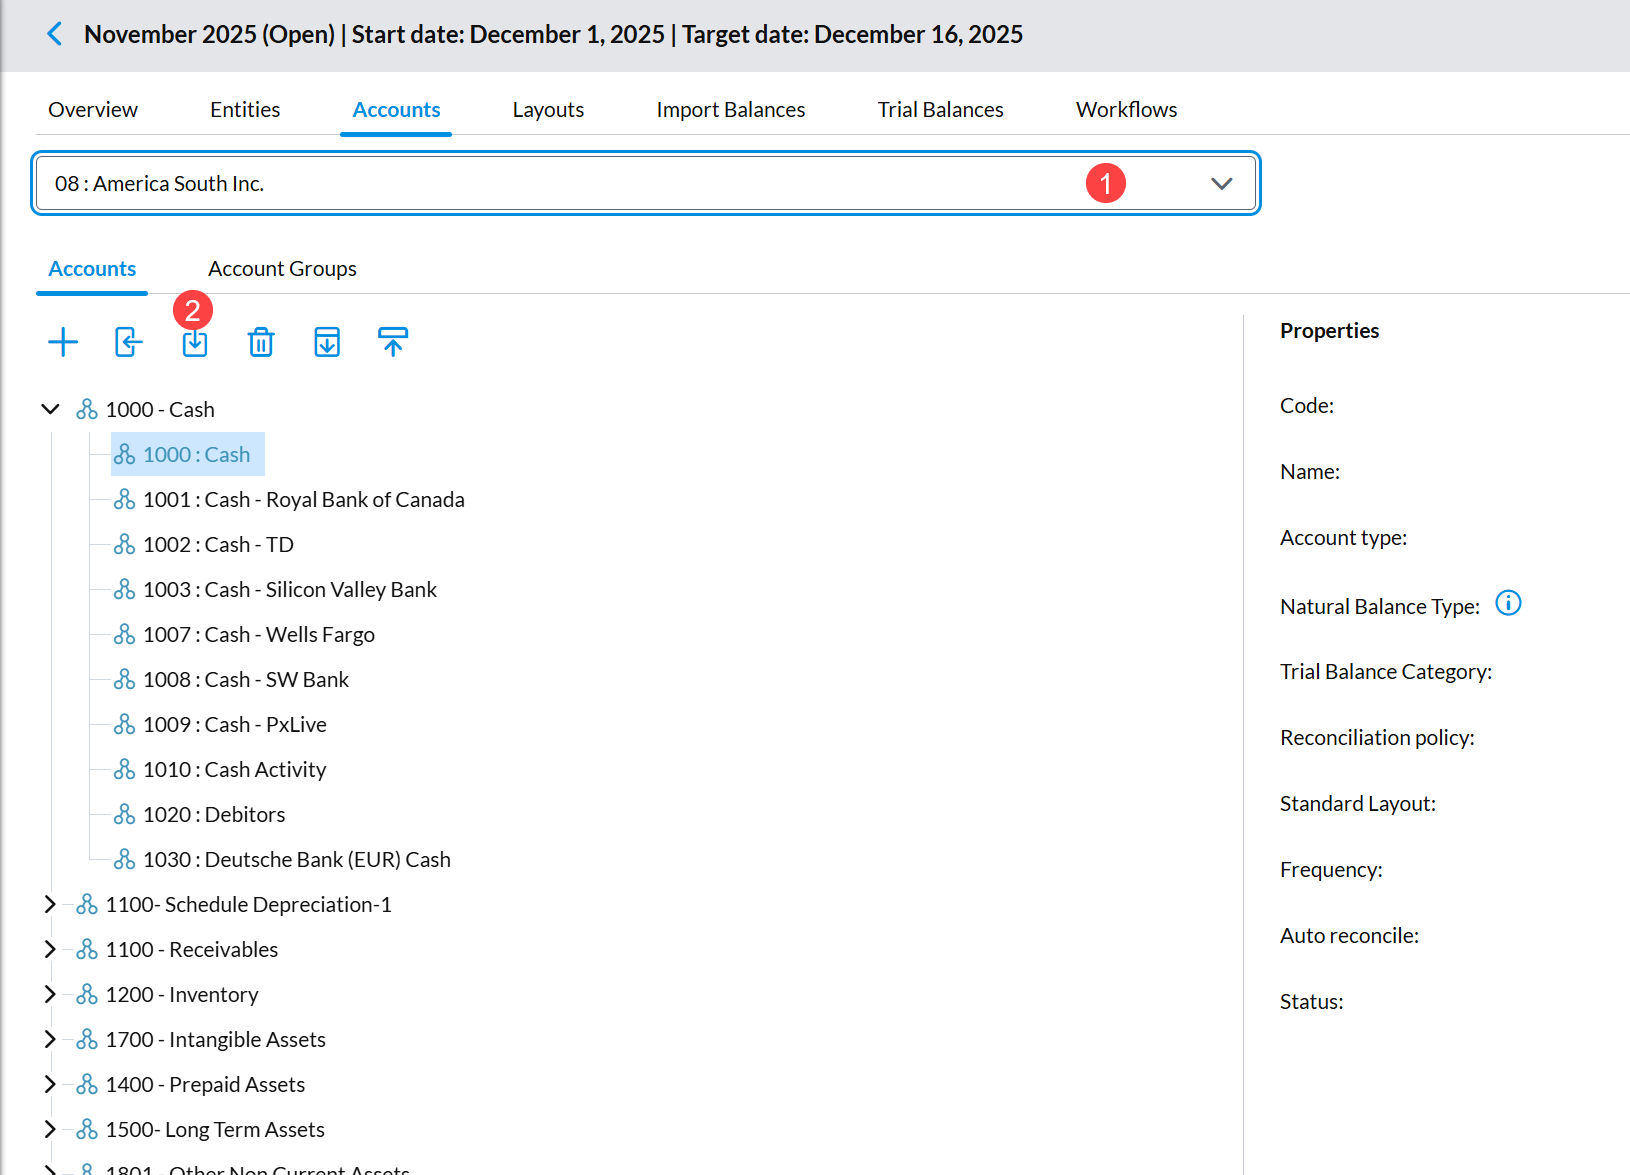
The Close period details page displays the Entity page by default.
At the top of the Close period details page you will find the following information:
-
Period name and (Workflow Status): For example, August 2023 (Open)
-
Start date: For example, August 1, 2023
-
Target date: For example, August 30, 2023
-
-
Click the Accounts tab.
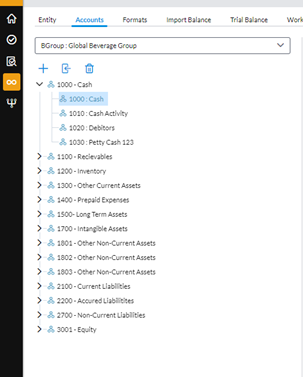
Note: On the Accounts page, chart of accounts are displayed by entity.
You have the options to:
-
Add an account manually. Refer to Add an account.
-
Import a chart of account. Refer to Import a chart of accounts.
-
Add an account
When you need to add a new account to your existing accounts, you can do so manually following these instructions:
-
Navigate to the Accounts page.
-
On the Accounts page, choose the entity to which you want to add the account.
-
Click
 and in the Properties pane, provide following the new account:
-
Code: A unique identifier for the accounts. Learn about requirements for codes.
-
Name: Description of the account.
-
Account type: Grouping of the account, for example, Cash, Inventory, etc.
-
Natural Balance: The natural balance of an account shows if it has a natural debit balance, a natural credit balance, or neither. This is referenced by the Reverse Credits option when importing GL balance data.
-
Trial Balance Category: Major accounting category, for example, assets, liabilities, etc.
-
Reconciliation policy: The procedure to use in reconciling the account: Import balance, Transaction matching, Schedules.
Note: When Transaction Matching is selected, auto match is turned off and the Auto reconcile and Status fields are disabled .
-
Layout: Applies if Reconciliation policy = Import balance. This is the format for displaying supporting items on the Account Reconciliation page. If you want to use any layout other than the default, choose from the drop-down list.
Note:If reconciliation has already started (i.e., supporting items or adjustments have been added to the account), the Layout field will be disabled.
To assign a different layout to an account where reconciliation has already started, you have two options:
-
Delete all supporting items or adjustments added to the account, OR
-
Delete and recreate the account and its associated workflow, then assign the new layout.
For more information about layouts, see Assign layout to an account in the Set up Layouts article.
-
-
Transaction set: Applies if Reconciliation policy = Transaction matching. This is the transaction matching layout for the primary and secondary source of transaction data. For more information on setting up transaction matching, refer to Set up transaction matching for an account.
-
Frequency: Indicates how often the account is reconciled (Monthly, Quarterly, Yearly).
-
Auto reconcile: Use this to enable auto-reconciliation for the account by choosing If zero balance. During import, if the GL balance for this account is zero, the associated tasks will be automatically reconciled, and the task status will be updated to the value specified in the Status field below. For more information on auto reconciliation, refer to Automatic reconciliation rules.
-
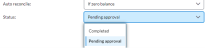
Status: This is related to the Auto reconcile field. Choose a status to apply to auto reconciled items after the import.
-

-
Click

Import a chart of accounts
You can import a master list of all the accounts in your organization's general ledger into the application. Acceptable file formats are .XLSX and .CSV files.
We have provided a template for you to download and use to prepare your Chart of Accounts (COA) to successfully import it into the application.
The Download link lets administrators download the existing account definitions for the selected entity. This makes it easier to edit multiple accounts at once and update the accounts table in the future, especially if manual changes were made after the initial import of the accounts.
To import a chart of accounts:
-
Navigate to the Accounts page.
-
On the Accounts page, choose the entity into which you want to import the Chart of Accounts file.
-
Click
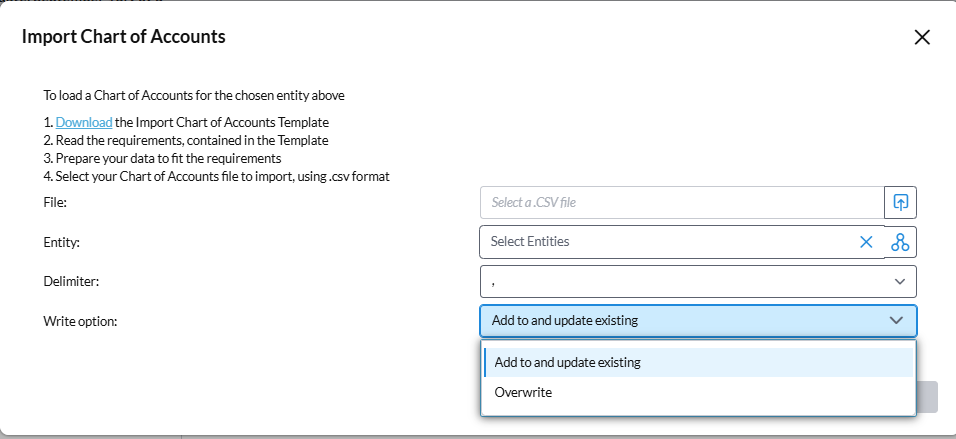
 . The Import Chart of Accounts dialog is displayed, providing the instructions for uploading a Chart of Accounts:
-
Follow the instructions to prepare, select, and upload the Chart of Accounts file.
-
In the Write optionsfield, you have these options:
-
Add to and update existing: Adds new accounts from the imported file and updates existing ones (Default). Select this option if you want to retain your current accounts while adding new ones and updating existing ones. No accounts or associated data will be removed.
-
Overwrite:Deletes the entire Chart of Accounts and replaces it with the new imported file. This option deletes all existing accounts before importing the new file. Any accounts not included in the import file will be permanently deleted, along with related trial balances, workflow tasks, and other associated data. Use this option with caution.
-
-
Click
 .
. -
If there are any validation errors during the import, messages are displayed to notify you of what they are. Fix the errors in your import file and try again.
-
If the file is successfully imported, the accounts are displayed.
Note: Accounts flagged for reconciliation in the import file retain their designation upon import. For these accounts, the Auto reconcile option is automatically selected
 .
.
-
Import chart of accounts for multiple entities
-
On the Accounts page, click
. The Import Chart of Accounts dialog is displayed, providing the instructions for uploading a Chart of Accounts. -
Follow the instructions to prepare, select, and upload the Chart of Accounts file.
-
In File, select your .csv COA file.
-
In Entity field, click
 . The Select Entities dialog opens.
 -
In the Select Entities dialog:
-
Select two or more entities and move them to Selected Entities.
-
Select OK to confirm.
-
-
In the Import Chart of Accounts dialog, specify the import options: Delimiter and Write option.
-
Select OK to import. The import applies only to the entities you selected.
Download an entity’s chart of accounts
The Download Accounts feature allows you to download the Import Chart of Accounts (COA) file of a specific entity.
This is useful if you want to review an entity’s existing COA before importing updates.
The button is disabled if the selected entity does not have a COA.
To download an entity’s COA:
-
On the Accounts page, select an entity from the the Entity drop-down. If a COA exists for that company,
is enabled. -
Click
to download entity’s COA as a .XLSX or .CSV or file.
Edit an account
Use the following steps to modify an account. Any changes made to the account are immediately reflected.
-
Navigate to the Accounts page.
-
On the Accounts page, select the entity to which the account you want to edit belongs.
-
From the list of accounts, select the account you want to edit.
-
In the Properties pane, make the edits.
-
Click
. Your updates are reflected immediately.
Delete an account
Deleting an account removes the account and all its associated data and workflow items from the period. You can delete a single account or multiple accounts at the same time.
- Open the Accounts page.
-
On the Accounts page, select the entity from which you want to delete the account.
-
To delete an account, select the account and then, click
 . The Deleting Account confirmation dialog appears.
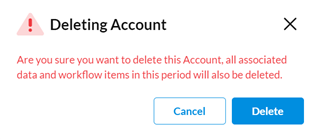
-
Click
 .
.
Delete multiple accounts
-
Hold down the CTRL or SHIFT key to select multiple accounts from the list.
-
Then, click
to remove all the selected accounts.